


Daisy's Calcite Tower
*Pay in 4 interest-free payments with PayPal. (PayPal approved customers only)
i Important Care Info
Creamsicle Calcite can react to chemicals, acids, salt, or harsh cleaners. Keep it away from perfume, cleaning products, vinegar, salt water, and jewellery dips.
Creamsicle Calcite is fragile, which means it may chip, flake, shed, or break if dropped or handled roughly. Handle gently and store with care.
i Important Care Info
Creamsicle Calcite can react to chemicals, acids, salt, or harsh cleaners. Keep it away from perfume, cleaning products, vinegar, salt water, and jewellery dips.
Creamsicle Calcite is fragile, which means it may chip, flake, shed, or break if dropped or handled roughly. Handle gently and store with care.
i Important Care Info
Creamsicle Calcite can react to chemicals, acids, salt, or harsh cleaners. Keep it away from perfume, cleaning products, vinegar, salt water, and jewellery dips.
Creamsicle Calcite is fragile, which means it may chip, flake, shed, or break if dropped or handled roughly. Handle gently and store with care.
i Important Care Info
Creamsicle Calcite can react to chemicals, acids, salt, or harsh cleaners. Keep it away from perfume, cleaning products, vinegar, salt water, and jewellery dips.
Creamsicle Calcite is fragile, which means it may chip, flake, shed, or break if dropped or handled roughly. Handle gently and store with care.
Creamsicle calcite
Aries, Cancer, and Pisces zodiac energy.
Ruled by Mars, the Moon, and Saturn.
Sacral (creativity) and Solar plexus (power) chakras.
Creamsicle calcite
Aries, Cancer, and Pisces zodiac energy.
Ruled by Mars, the Moon, and Saturn.
Sacral (creativity) and Solar plexus (power) chakras.
Creamsicle calcite
Aries, Cancer, and Pisces zodiac energy.
Ruled by Mars, the Moon, and Saturn.
Sacral (creativity) and Solar plexus (power) chakras.
Creamsicle calcite
Aries, Cancer, and Pisces zodiac energy.
Ruled by Mars, the Moon, and Saturn.
Sacral (creativity) and Solar plexus (power) chakras.
Please read our FAQ for any questions.
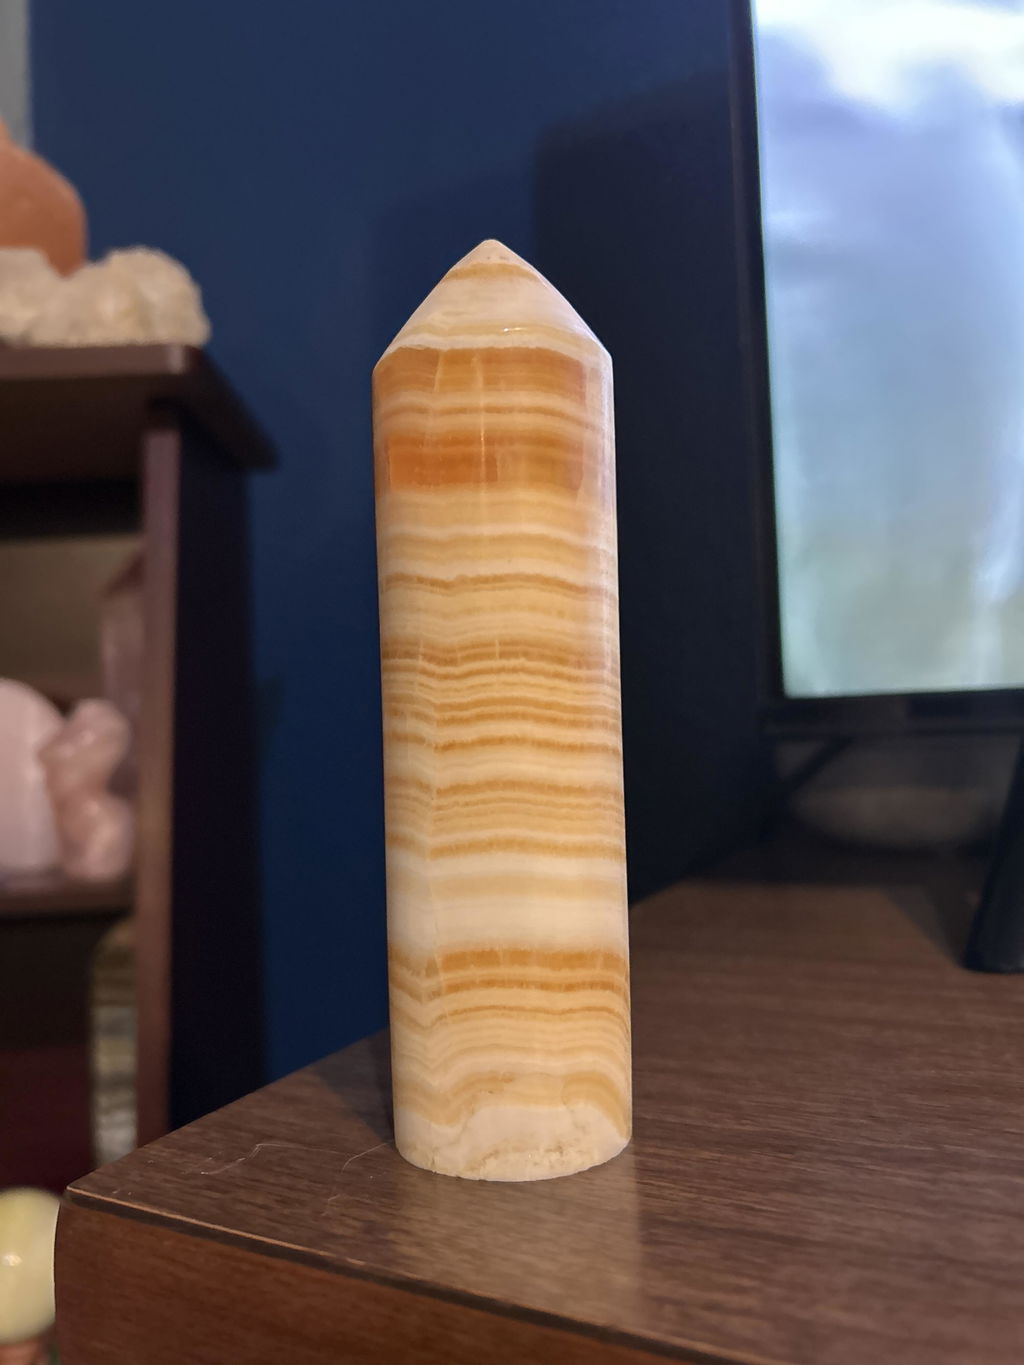
Each crystal is naturally unique, so no two are identical. The photos represent sample pieces. When you purchase one, you will receive a single crystal unless otherwise stated. Size, colour, and shape may differ from the images shown.
If you select a numbered option (for example, 111), you will receive one crystal at that price. Colour and shape may vary, but quality and value remain consistent. Staff cannot provide the exact crystal shown in the sample photo, so please do not request it.
If you select a lettered option (for example, A), you will receive the exact crystal shown in the photo.

